Showing posts with label Jessbakesncooks. Show all posts

Sunday, March 25, 2018

Babies and Toddlers' Friendly Recipe: Eggless Vegetables Nuggets for the Family (Main Ingredients- Chicken, Zucchini and Mushrooms)

I made my own variation of homemade vegetables nuggets today and was really pleased with how it tasted. Miss Kwek finished four nuggets for lunch!

These nuggets are so vasetile. They can be made in many ways with different ingredients to suit different tastebuds. Great for everyone in the family.

Eggless Vegetables Nuggets:
About 250g of minced chicken meat
1/2 zucchini
12 slices of fresh mushrooms
3 TBSP bread crumbs
Frying Oil

Seasoning: (A dash of everything)
Parsley Flakes
Dill
Paprika
Ikan Bilis Powder (made my own too!)


Instructions:
1. Wash and grate zucchini. Squeeze out all the water.
2. Wash and chop mushroom finely.
3. Place all the ingreients together and mix well.
4. Shape them into nuggets shape and pan fry till both sides are browned.

Any type of oil can be used for frying. I used olive oil.

I pan fried my nuggets on low heat to make sure the nuggets are cooked through before the outer layer browned.

These are great for freezing. Partition them into serving portions and place them in freeze-friendly bags or container for storage.

Hope you liked this recipeas much as Miss Kwek and I!

Saturday, July 15, 2017

Baby Product Review: Philip Avent 4-in-1 baby healthy food maker

Six months passed by in a flash and I realised, I haven't had the time to document anything regarding parenthood!

Yes, that's how occupied one becomes with a baby on board!

So here's a really short post on my first baby product review, the Philip Avent 4-in-1 baby healthy food maker.

Miss Kwek started semi-solid not too long ago when she turned 5 months. The Philip Avent 4-in-1 baby healthy food maker is really a great kitchen helper in preparing homemade puree. All I have to do is steam, flip and blend. It includes a storage container which can be used to store excess puree and the container can be placed in the same machine for defrost/reheat. As easy as ABC! All using just a machine! The manual included also gives a gauge of the duration each type of food item should be steamed.

The machine consist of two parts: the blender and the steamer.


All I need to do is wash and chop food into 1 cm cube, place it into the blender, fill water to the desired steaming duration (as per the manual), lock the steamer side of the blender down, set the control panel to the correct duration and wait. When steaming is done, the machine will "beep" and automatically cease steaming. Very good for multitasking as I do not need to worry about over/under steaming the food.


Next, unlock the blender and flip. Give the steamed food a shake to let it fall to the blade end and lock the blender. Press the center control buttom to pulse the food till desired consistency.


Thats right! Homemade puree is ready for consumption or storage.

Is the machine easy to clean?
Yes!

All the parts are easily taken apart for thorough cleaning after each use.


As for the given container, I have not tried defrosting/reheating puree in it. I usually make fresh batch of puree every alternate days. Hence, I store the one extra serving in the normal Philip Avent container and use the Philip Avent warmer to reheat the puree the next day.

Overall, I think its well worth the moolahs! A dummy proof machine, even Mr Kwek knows how to make puree now!

If you are interested, do try to get it during baby fairs as deals are much better with throw in freebies. FYI, I got mine during Taka baby fair at $169, inclusive of freebies a set of Avent bowls and utensils.

Wednesday, December 09, 2015

Jess Bakes and Cooks: Panda Japanese Curry Rice

Today's tutorial will be on a simple yet tedious japanese curry rice. Yes, I am going to show you the tedious process of creating these panda to spice up plain old japanese curry rice!

Even with the use of the shapping tools, it took me an hour more than my usual cook time to complete the assembling of this meal!
Ingredients: (servings for 2)
1 cup long grain rice
2 serving cube of golden curry
280ml water
1 carrot, cubed
1 potato, cubed
1 Tablespoon oil
A few french beans
Some seaweed sheets
1 set panda mould tool

Instruction:
1. Wash the rice and cook as per instruction on packet.


2. Bring half a pot of water to bowl and cook french bean for about 5 to 8 minutes. You may add some salt to taste in the water. I did not add any to reduce salt intake.

3. Once rice is cooked, loosen rice with spatula. Scoop some rice to fill the mould and press the rice with the back of the mould to shape the rice. Long grains are stickier and will stick together in shape.


4. Wet hand to unmould the rice panda and place it n plate. Continue until rice finish.

5. Using the rubber mat of mould cutter, place seaweed sheet in between and press mould cutter down with some pressure from your palm. Continue to cut the parts enough for the number of pandas you have formed.

6. Assemble the part. The long stripe for the hands connected round the back; the commar like parts are the legs; small ovals for the eyes; the small circle for the nose and the last ribbon like parts are the ears. Keep scrapes aside for topping curry.

7. Here is an assembled panda. I cut the ribbon parts in half for the ears as I didn't like the look of the original ears.
8. In a clean pot, heat up the oil and fry the carrots and potatos for about 5 minutes.

9. Pour about 280ml of water and bring pot to boil.

10. Once boiled, put the golden curry cube into the boiling pot and stir till dissolved and well combined.
11. Let the curry simmer for another 10 minutes before turning off the fire. Here I placed onky 240ml water and hence, my curry was alittle thicker than usual!
12. Place the panda rice anyway you like on the plate and decor with the french beans (bamboos for panda in this case) before scopping the curry onto plate.
12. Lastly, place the scrapes of seaweeds from earlier onto of the curry and serve! What's not to love about pipping hot curry with cute panda rice! :)

Saturday, October 24, 2015

Jess' Bakes and Cooks: Simple Stir-Fry Chinese Noodles

Chinese noodles is a very simple one dish meal to serve. Cooking it requires very simple ingredients and the possibility is endless. You can add in anything to the noodles; your favourite vegetables, meats or simply just leave it plain! :)

Here is a simple basic stir fry noodles recipe which you an easily tweak to make it your own!

Ingredients: Serve 2-3

3 bundles of noodles (about 150g, I used store bought chinese shrimp noodles)
1 packet of baby spinach
2 eggs
6 imitation crabstick
6-8 frozen cooked prawns
1 Tablespoon Oil
1 Teaspoon garlic, chopped

Seasoning:
1 Tablespoon Light Soy Sauce
1/2 Tablespoon Dark Soy Sauce
1/2  Tablespoon Oyster Sauce
1/2 Teaspoon Granulated Sugar
1/2 Teaspoon Seasame Oil
2-3 Tablespoon Water

Instructions:

1. wash the vegetables
2. Cut the prawns and imitatiob crab sticks into small slices.
3. Mix all the seasoning condiments together in a bowl and place aside till ready to use.
4. Follow the instruction provided to cook the noodles.

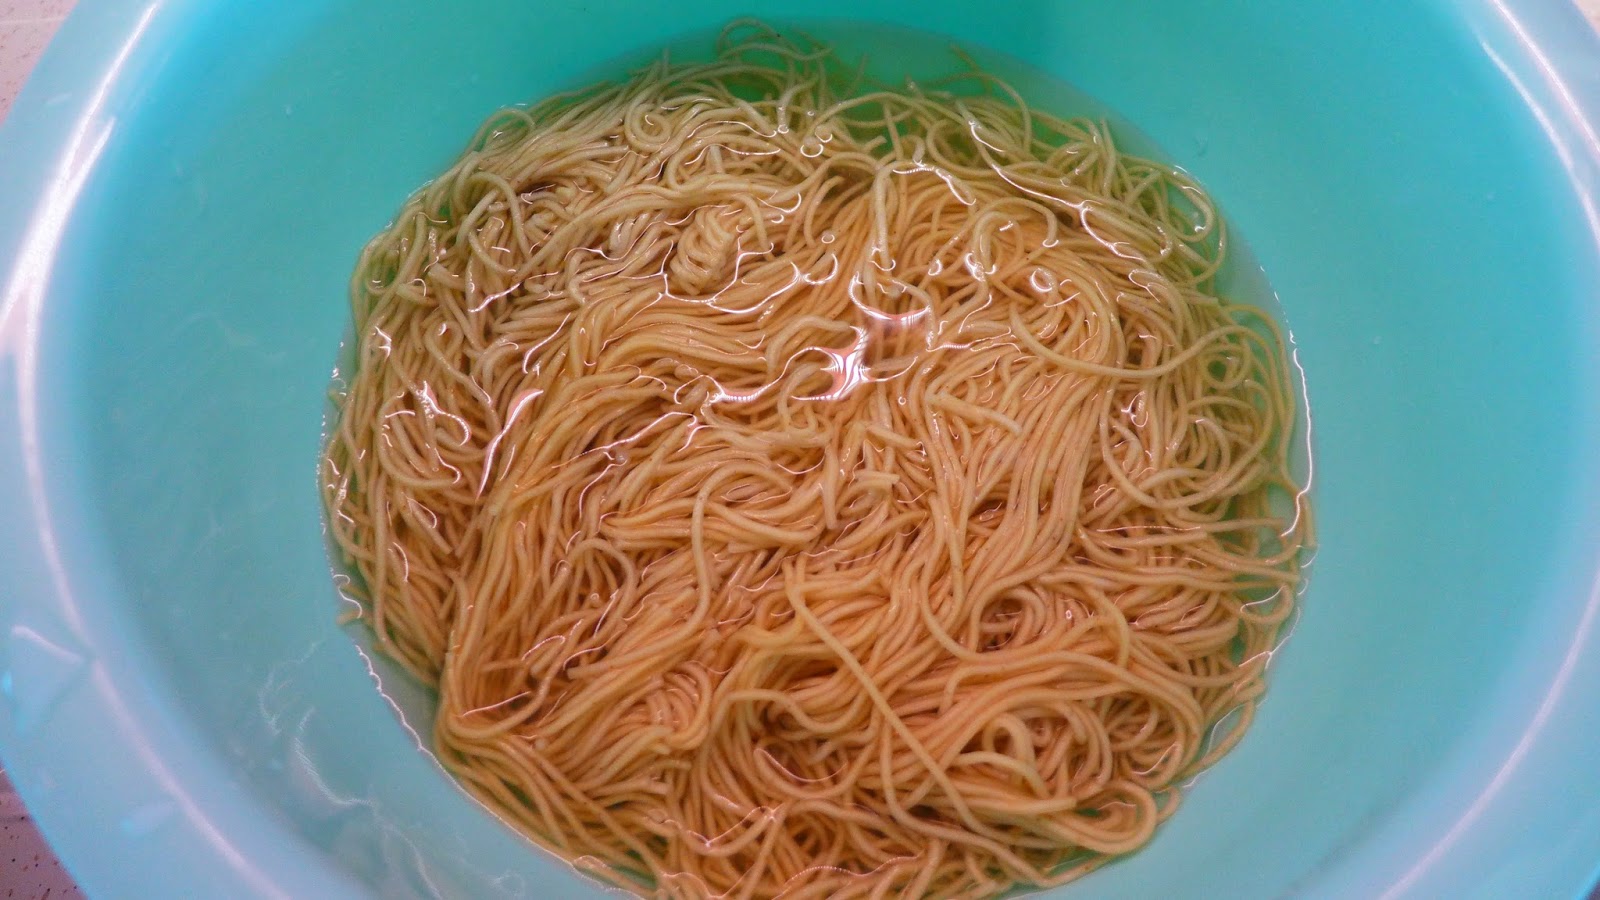
Alternatively, soak the bundles of noodles in cold water for 2 minutes before transfering to pot of boiling water to cook for 3 minutes. Use cooking chopstick to loosen the noodles before transfering the cooked noodles into cold water for 2 minutes. Drain water and leave noodles aside till ready to use.
5. Use the same boiling pot of water, boil eggs for 6 minutes. Leave boiled eggs to cool before peeling shells.
6. Using a frying pan/wok, heat oil in pan/wok and fry chopped garlics till golden brown.
7. Add washed vegetables and stir fry till wilt.
8. Add in noodles and seasoning. Stir fry till noodles are thoroughly and evenly coated with seasoning.
9. Add in cut prawns and imitation crabstick. Stir fry for another 1 minute.
10. Transfer cooked noodles into a deep dish.
11. Peel the cooled boiled eggs and slice them with a egg slicer. Topthesliced eggs on top of the noodles before serving!
Now you can cam whore abit on your achievement before digging in. :)

Enjoy!