Showing posts with label Babies and Toddlers Play. Show all posts

Monday, April 30, 2018

DIY Tutorial: Babies and Toddlers Mother's Day Fingerprint Flower Art Frame

Miss Kwek and I did three fingerprint flower art frames for the upcoming Mother's Day! As you can guess, one for her paternal grandma and another for her maternal grandma. The last one is for my own keepsake!

The fingerprint flower art frame is relatively easy to carry out with common craft materials found at home.

Things Required:
1. Craft papers
2. Fingerpainting paint
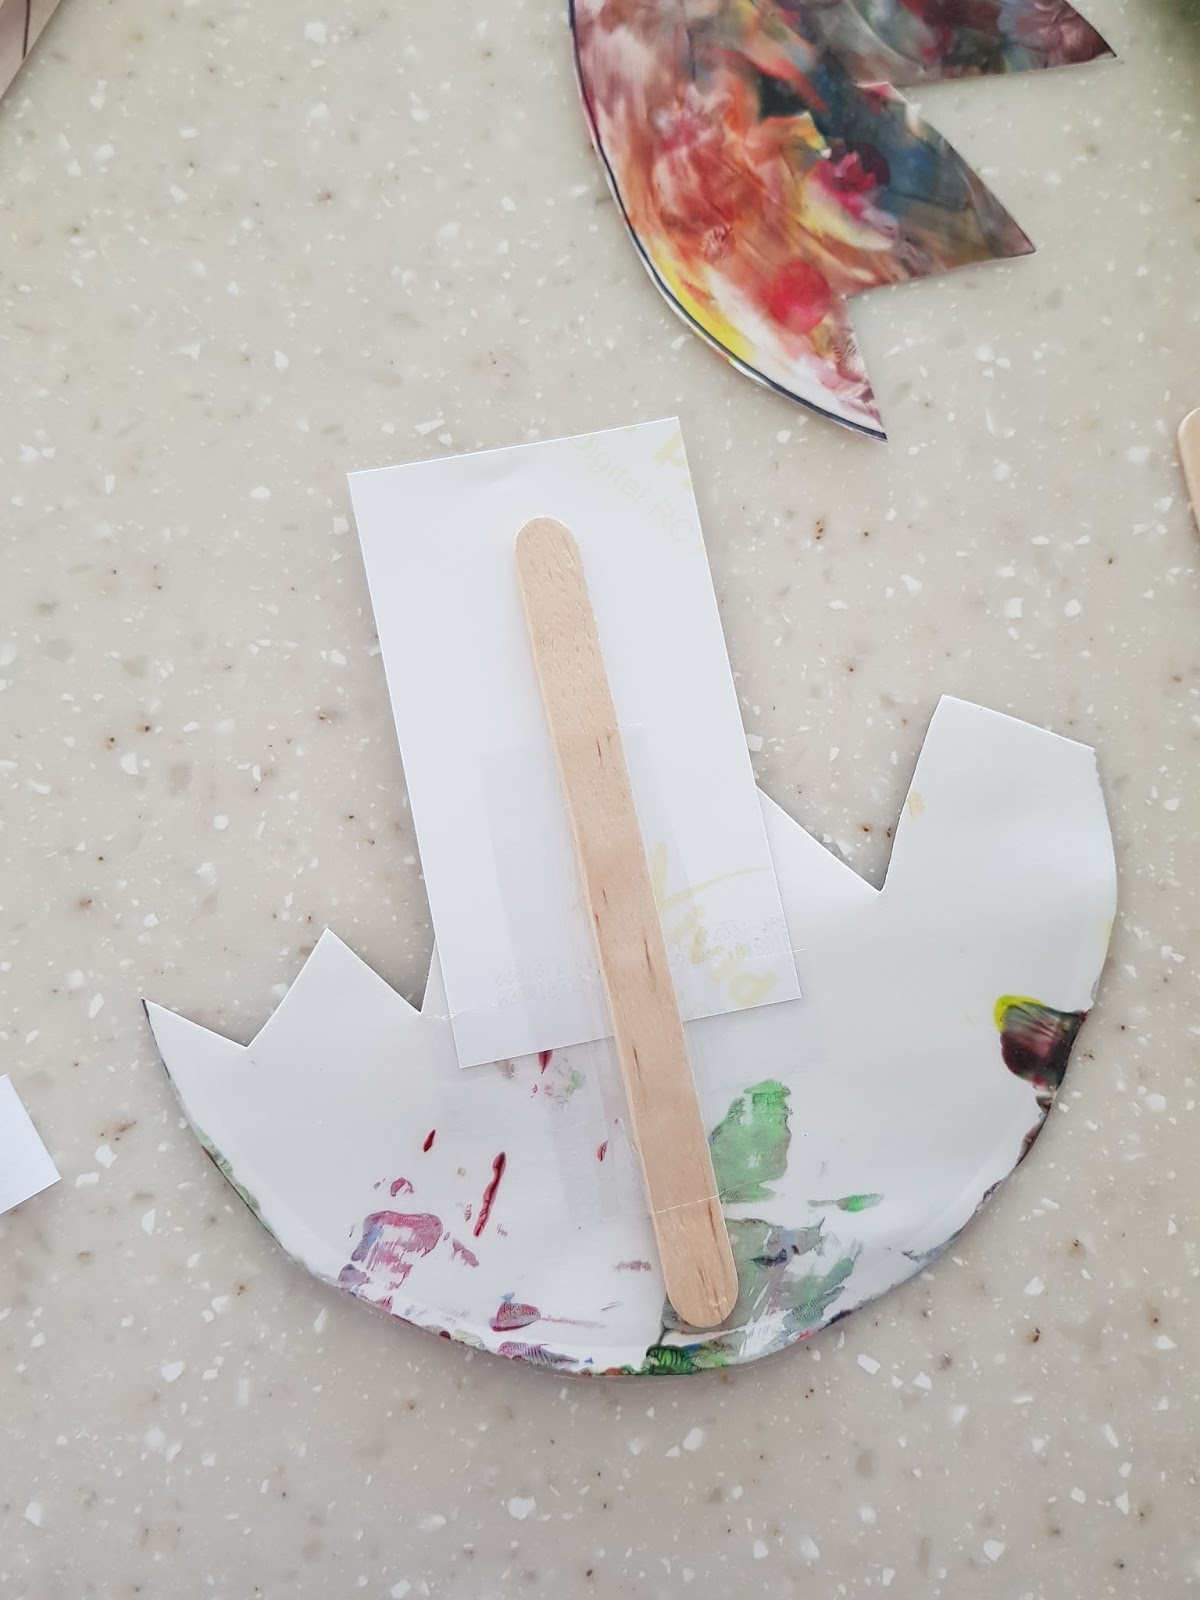
3. Craft sticks
4. Ribbons
5. Glue/double sided tape
6. Photo Frame

Instruction:

1. Paint your baby's or toddler's palm with the fingerpainting paint. Guide them to press their painted palm onto craft papers. Do as many or as little till you are satisfied (or when babies and toddlers get irritated by the same action!)

2. On another bigger sheet of craft paper, I got Miss Kwek to use a heart pattern roller brush to randomly roll on for a touch of colour meant for the frame backdrop.

Alternatively, if you do not have a roller brush, you may get your baby/toddler to fingerpaint instead. Otherwise, backdrop may simply be make out of solid colour craft paper.

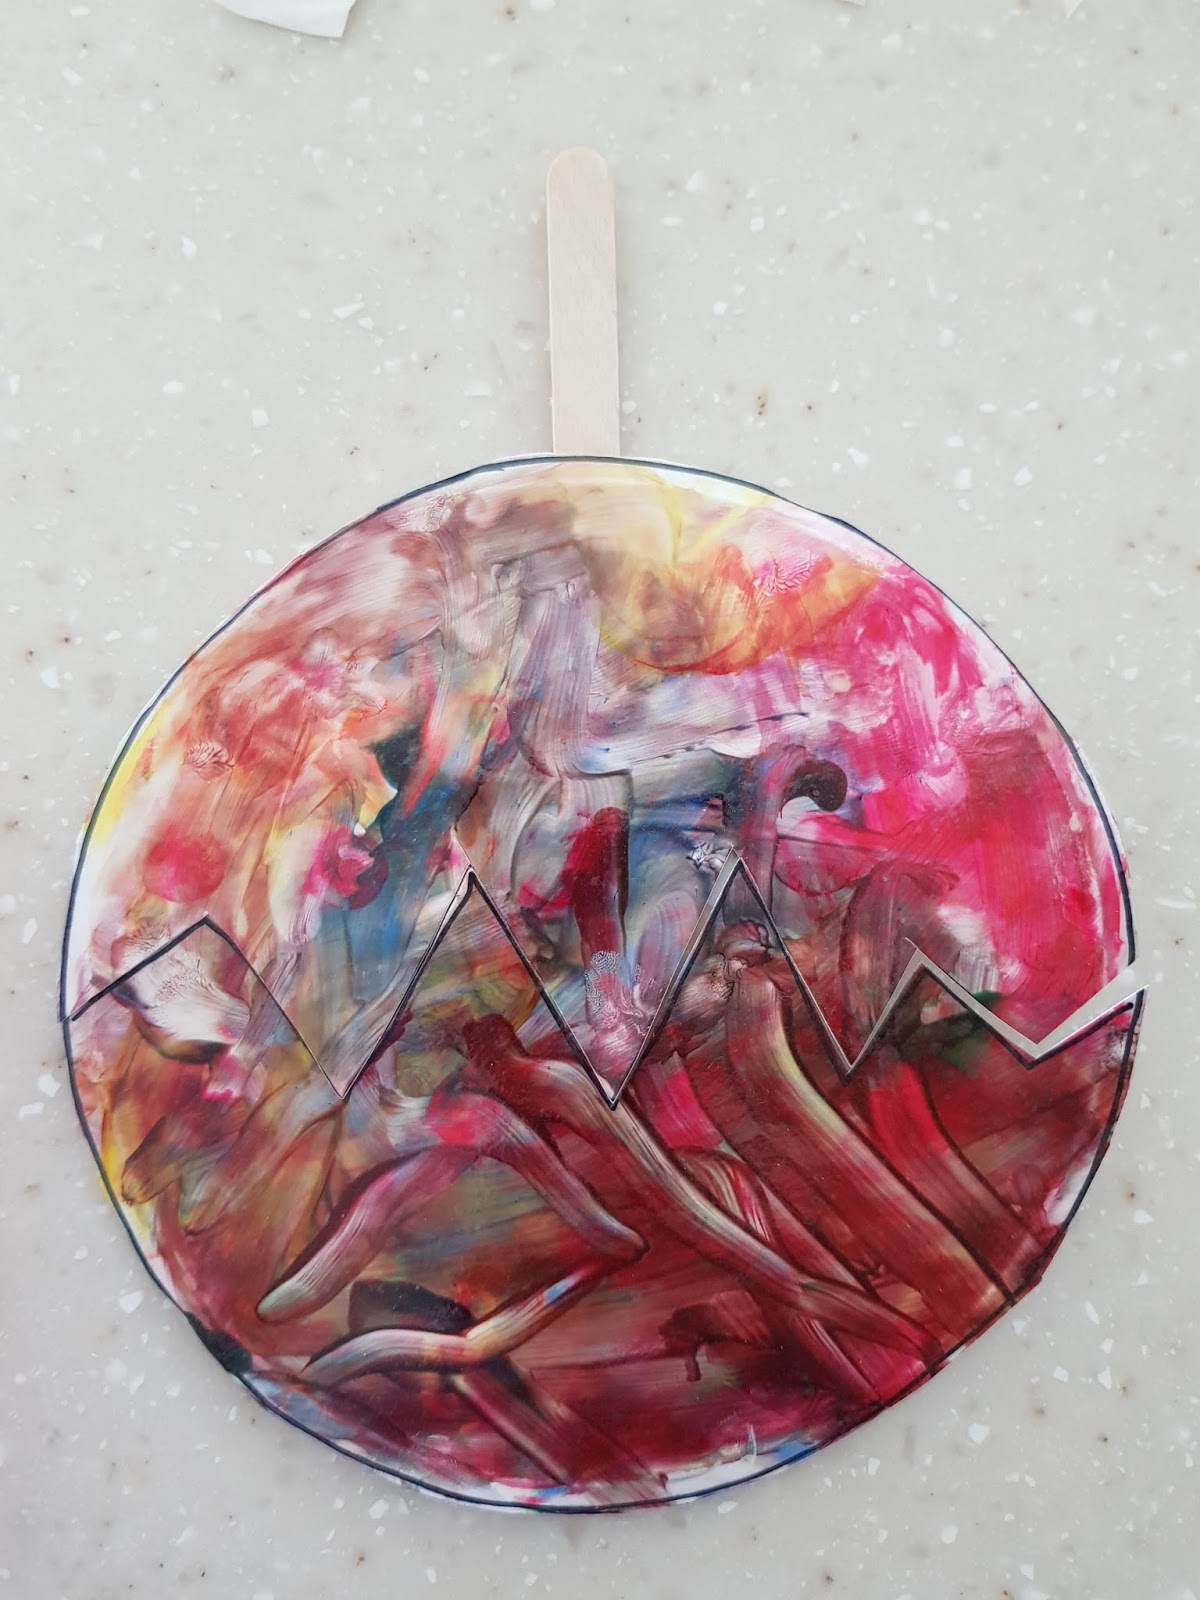
3. After the paint dried. I cut out the individual fingerprints. These fingerprint will act as the "flower". For the backdrop, I cut according to the frame size.
4. I double sided taped each craft stick "stem" and guided Miss Kwek to combine the fingerprints flower to its individual craft stick stem. Then, I tied a ribbon on each stem before taping the completed fingerprint flowers onto its respective backdrop.
5. Frame the finished fingerprint flower art up and its ready to be sent out!

Here, I used some decorative alphabet stickers to form the words "Happy Mother Day" before having them frame.
Hope you find this tutorial useful!

The fingerprint flower art frame makes a perfect gift for Mother's Day and also any other special occassions! Do give it a try!


Other tutorials you may like...


Tuesday, April 24, 2018

An Afternoon at Playeum@Gillman Barracks- Making It Home

It was our first time visiting Playeum at Gillman Barracks. Playeum is a non-profit creative centre for children that delivers hands-on exhibitions surrounding different themes. The current theme for the month of April is: Making It Home.

The mediums used in this exhibition "Making It Home" are common materials found at home such as; fabrics, pipes, carton boxes, pegs, etc. These mediums make it easy for Miss Kwek to make associations with as she has seen most of the items before.

The place at Playeum had been transformed and divided into different "rooms" with different mediums to explore and experiment. 
There is a dark room included in the exhibition with color lights and some everyday objects. Together, interesting shadows can be created. Children are welcome to use the objects to create shadows and make their own stories.
Included in the exhibition is an Art & Craft corner where older children, together with their parents, can make some craft with the recyclable materials provided. 
Miss Kwek was too young to appreciate such freestyle creativity. Instead, she doodled with the colored pens available on a long scroll of paper.
Miss Kwek had fun running freely around exploring the various mediums. 
The only con about Playeum is that it allows wearing of shoes into the play area. Hence, in terms of cleanliness, it gets a slightly lower rating. Moreover, there were two sand play areas when we were there. Hence, the place was a little sandy as some of the older children were literally throwing sand up in the air.

Otherwise, Playeum is a great place for some creative-experimental-sensory weekend's fun away from the usual children toys play.


Other similiar places we visited:


Monday, April 23, 2018

An Afternoon at Busy Tables at Rochester Mall

We spent a Saturday's afternoon at Busy Tables. Located at Rochester Mall, Busy Tables offers both classes and programmes as well, walk-in experimental plays. We were near the area and decided to drop by for a walk-in two hours session.

Busy Tables is a relatively big place. When we were there, there was only another family around. Hence, Miss Kwek got to run around exploring all the various learning materials.
Busy Tables is categorized into different sections consisting of different learning materials/toys. Each area has a proper play mat laid for comfortable play. This, impressed me much! There are also a couple of tables and chairs placed around the area for proper table play.

There is a puzzle area with a vast variety of different kind of puzzle plays, a reading area with mini sofas and books, a shelf of learning/educational materials and a dark room.
Most of the learning materials and toys are neatly placed in transparant containers. Each consist of a label that clearly state the learning objective/outcome of play and the age range suitability. This earned brownie points from me!
The only toy I do not approve of is this puzzle pieces seen in the red play table below. I do not know the name of this toy but I read  how it couldn't be removed after being stuck in children's hair. 

Though there is a print-out placed together with the toy to warn about the danger, I doubt children will read it/know how to read it. Hence, I think it will be better if this is being taken out.
Otherwise, Busy Tables is definitely a great place for some family bonding/ children play, if you are around the area. Quiet, clean and lots of good learning/educational play materials.

Miss Kwek played for the full two hours without fussing at all. By the end of the session, she was exhausted and slept on the journey home!


Other similiar places we visited:

Friday, April 06, 2018

DIY Tutorial: Babies and Toddlers Sensory Play Idea with Book Adhersive Film (or contact paper)

Today's DIY tutorial is a no-mess-easy-to-put-together sensory play idea for babies and toddlers. This sensory play idea can be put together with an endless different combination of materials. All you need is some book adhersive film (or contact paper) and whatever craft supplies you can find at home! Easy as 1-2-3!

I used some colour construction papers to cut into shapes (rectangle, triangles and square), and included some other items like pom pom balls, sequin confettis, yarns and ribbons for the different textures.

Next, I taped the book adhersive film, sticky side up, on a table before peeling off the protective sheet. 
 Miss Kwek had so much fun sticking and removing the various items from the sticky surface! This sensory play kept her entertained for a good half an hour! This is definitely one sensory play idea I will reuse in future.
Have you tried this idea before? Let me know how you feel about it! :)


Other tutorials you may like...

DIY Tutorial: Babies and Toddlers' Sensory Bottles Ideas

DIY Tutorial: Babies & Toddlers' Easter-Surprise Egg Photograph Craft

DIY Tutorial: Babies & Toddlers' Mother's Day Fingerprint Flower Art Frame

Tuesday, March 27, 2018

DIY Tutorial: Babies & Toddlers' Easter-Surprise Egg Photograph Craft


I chanced upon this idea here, and decided to craft with Miss Kwek, using paper plates and finger painting instead for Easter! It is a super easy and fun craft for babies and toddlers.

Things Required:
1. Paper Plate
2. Fingerpainting Paints
3. Marker
4, Scissor
5. Photograph
6. Ice cream Sticks (x2)
7. Scotch tapes/glue
8. Book Cover Adhersive Film (Optional)

Instructions:
1. Use marker to trace out the egg and egg cracks.
2. Cut out the egg and have it fingerpainted by toddler or have it decorated any way you desire.
3. Allow paint to dry before covering it with book adhersive film. This step is optional. I did it because my toddler just loves to destroy things. lol.

4. Cut egg via the crack lines into half.

5. Attached photograph to one side of the egg half and attach an ice cream stick on top of the photograph. Next, attach another ice cream stick on top of the first stick. I used the adhersive film to do all the attachments. You may choose to use glue or scotch tape instead.
6. Cut out a small strap of the paper plate edge and attach both corners to the other egg half.
7. Slot in the ice cream stick into the small strap of paper plate on the other egg crack half and you are done!
I have my ice cream stick sticking out on the top instead of the bottom because I want to have it displayed on the wall. This will allow the egg to remain attached together on the wall.

That's all for now. Hope you enjoyed it!

Happy Easter Everyone!


Other Craft Ideas you may like...

DIY Tutorial: Babies and Toddlers' Sensory Bottles 

DIY Tutorial: Babies and Toddlers Sensory Play Idea with Book Adhersive Film (or contact paper)